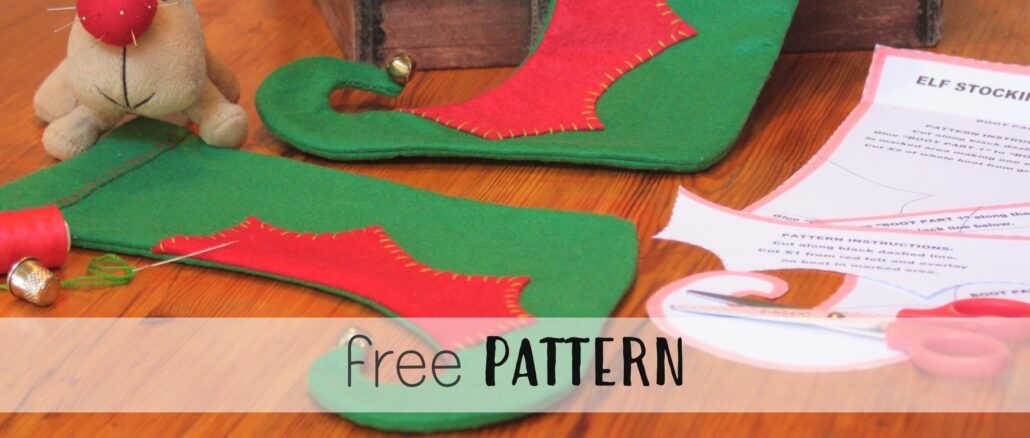
This super cute Christmas stocking is perfect to fill with sweet teats for the kids on Christmas eve. I just love it… and I think it’s worth hauling out the sewing machine for! If you don’t own a sewing machine, you could sew this elf Christmas stocking pattern by hand too, or you could even use fabric glue. So without delay, lets get onto it…
Elf Christmas Stocking Pattern
Prep Time: 15 minutes
Sew Time: 20 minutes (machine sewn)
What You’ll Need:
green felt (60cm X 40cm)
red felt block
cotton
fabric glue
small bell
ribbon (red or green)
scissors
glue
pins
FREE printable pattern provided below
Method To Make This Elf Christmas Stocking Pattern :
Print The Supermoms Club Elf Christmas Stocking Pattern and follow the instructions printed on it. This pattern runs over 3 A4 pages. The pattern for the boot (on page 1 & 2) will need to be glued together before you use it, so please read the instructions carefully… they’re easy to follow!
Once you’ve cut out and glued the boot pattern, double up your green felt, and pin the pattern to it. Cut out the boot (X2).
Now cut out the scalloped edge (on page 3 of the pattern) and pin it to your red felt. Cut it out (X1).
Place the red scalloped edge (in roughly the same position as indicated on the pattern) on the boot. It should be facing the inside of the boot, as once it’s sewn, it will be turned inside out.
Fold over roughly a 4cm to 5cm edge at the top of the boot. It should also be facing the inside of the boot, as it will be exposed once you turn the boot the right way round after you’ve sewn it.
Pin the edges and sew, leaving the top of the boot open. The seam does not have to be wide. It should run roughly the width of the area marked in red on the pattern.
Turn the boot the right way round. The scalloped edge will now be loose around the scallop. Glue this down using some fabric glue.
Attach the small bell to the tip of the boot using some cotton.
Attach a ribbon to the top so that you can hang it… Enjoy!
CHRISTMAS PDF PRINTABLES
GRAB 15% OFF HERE ON ETSY


Back to CHRISTMAS CRAFT AND DIY IDEAS


Be the first to comment