These fun-to-make-together Christmas crafts for teens were my daughters idea. She’s 17, and we love spending time together crafting, especially over the Christmas holidays. This year, she wanted to decorate with a more natural look, so we rolled up our sleeves, chopped down a Pine branch and started planning our new Christmas decorations!
Watch On YouTube
Christmas Crafts For Teens
A quick instruction video on how to make these Christmas decorations, follow along and let’s craft together!
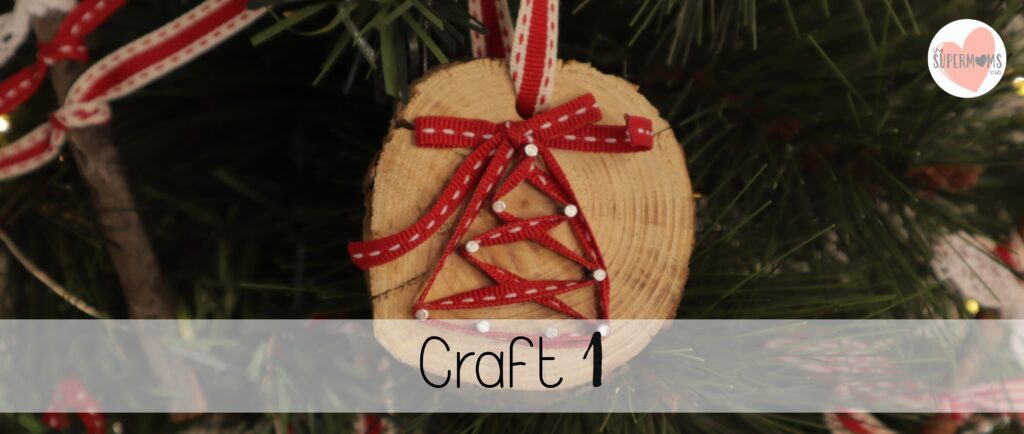
Decoration #1: Christmas Crafts For Teens

Here’s How To Make Them:
Supplies:
7cm diameter wooden branch, cut into 1,5cm disks
1,5cm nails (9 per Christmas tree or 10 per star)
ribbon (of your choice) + for hanging
drill + 5mm wooden drill bit
Instructions:
Print and cut out the FREE TEMPLATE (download here) and mark off the circle points on the wooden disk using a pencil.
Hammer in the nails, about 0.5cm deep.
Then secure the ribbon to the top nail, threading it around the other nails until you have a Christmas tree pattern.
Tie the ends to secure, make a small bow, and snip off any excess ribbon where you wish.
Next, drill a small hole in the top of the disk, using a 5mm wooden bit, string some ribbon through it, and decoration #1 is done!
Decoration #2: Christmas Crafts For Teens

Here’s How To Make Them:
Supplies:
7cm diameter wooden branch, cut into 1,5cm disks
paint, a small sponge, and any other embellishments you like (glitter, buttons, stars, etc)
ribbon (of your choice) for hanging
drill + 5mm wooden drill bit
Instructions:
Print the FREE TEMPLATE (download here) and roughly cut out the circle template. Then use a craft knife to slice out the middle of the Christmas tree.
Place the template over the disk, and use a sponge with some paint to fill in the Christmas tree pattern.
Allow it to dry and repeat on the opposite side.
Next, drill a small hole in the top, using a 5mm wooden bit, string some ribbon through it, and decoration #2 is done!
You can add some glitter, small beads or a star to it using some glue, it all depends on the look you want.
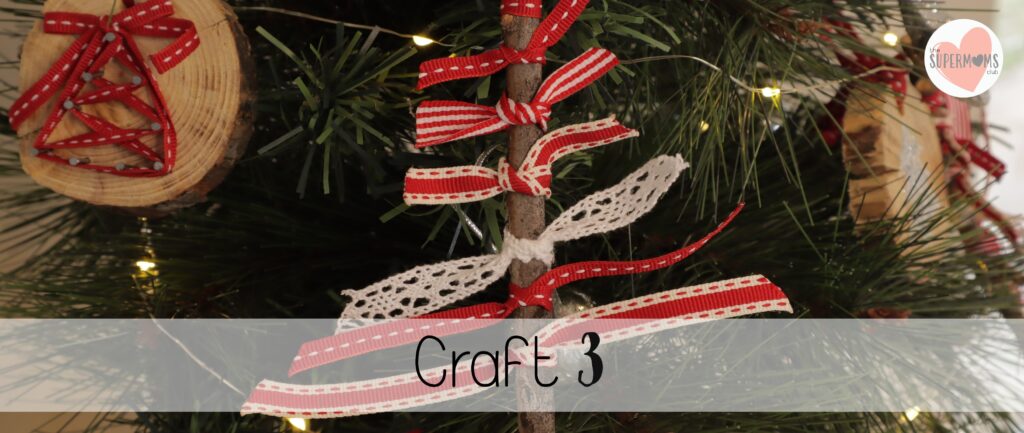
Decoration #3: Christmas Crafts For Teens

Here’s How To Make Them:
Supplies:
1cm diameter wooden twig, cut to 17cm long
ribbon cut to 18cm, 16cm, 14cm, 12cm, 11cm & 10cm long + extra for hanging
glue gun + glue sticks
Instructions:
Using your pre-cut twigs, secure the ribbons to the twig by tying them. Make sure to get it centered, and tug both ends tightly to secure.
When you get to ribbon #6, snip the ends of each ribbon (pointing the scissors inwards towards the twig) to shape your tree.
To ensure the ribbons don’t fray, burn the ends using a lighter.
Then add a hanging ribbon by making a loop tie, and secure it with a blob of hot glue.
CHRISTMAS PDF PRINTABLES
GRAB 15% OFF HERE ON ETSY


Be the first to comment