
Oooooh yummy, yum, yum! This is the best Chocolate Truffles recipe ever! I’m literally drooling at the thought of them while typing this. Chocolate Truffles speak festive season to me. With Christmas around the corner, I thought I’d add a little printable tag for anyone wanting to make these as a special gift for a friend or family member. So whomever you may be making these for, they’re sure to make a ball of happiness in their mouth! So without delay, here’s my best chocolate truffles recipe…
Watch On YouTube
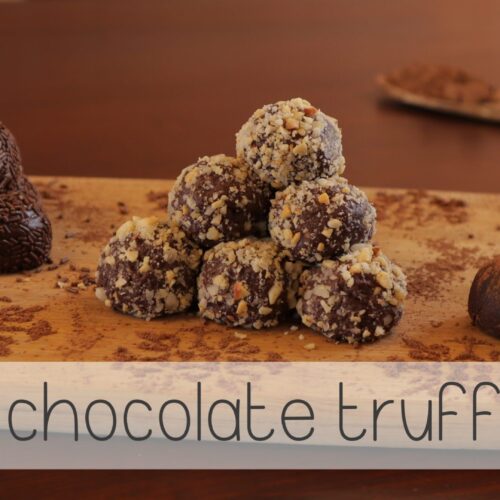
Melt-In-Your-Mouth Chocolate Truffles Recipe
A quick instruction video on how to make these yummy Chocolate Truffles, with some useful tips and tricks!
Best Chocolate Truffles Recipe
Copyright © 2018 – All text, printables & photos are by Taryn Bloem – thesupermomsclub.com
Prep Time: 45 minutes – 1 hour
Yield: +/- 40 balls
Ingredients:
1⅓ cups icing sugar
½ cup cocoa powder
2 tsp instant coffee powder
120g finely crushed Marie biscuits
250ml condenced milk (just less than a standard 385g tin)
2 tsp vanilla essence
100g melted butter
Optional Extra: 2 Tbsp Amarula or Cape Velvet liqueur
chocolate vermicelli or crushed nuts (to coat)
Method:
Sift the icing sugar, cocoa powder and instant coffee powder together in a mixing bowl.
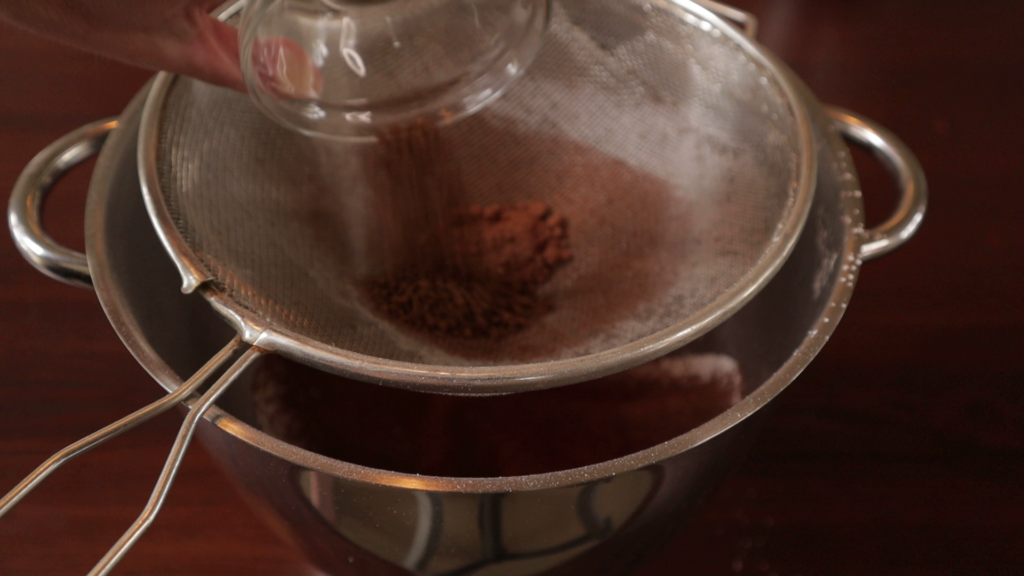
Crush the Marie biscuits until they are a fine powder. If you don’t have a blender, you can place them in a zip-lock bag and crush them using a rolling pin. Add them to the sifted ingredients and stir until nicely combined.
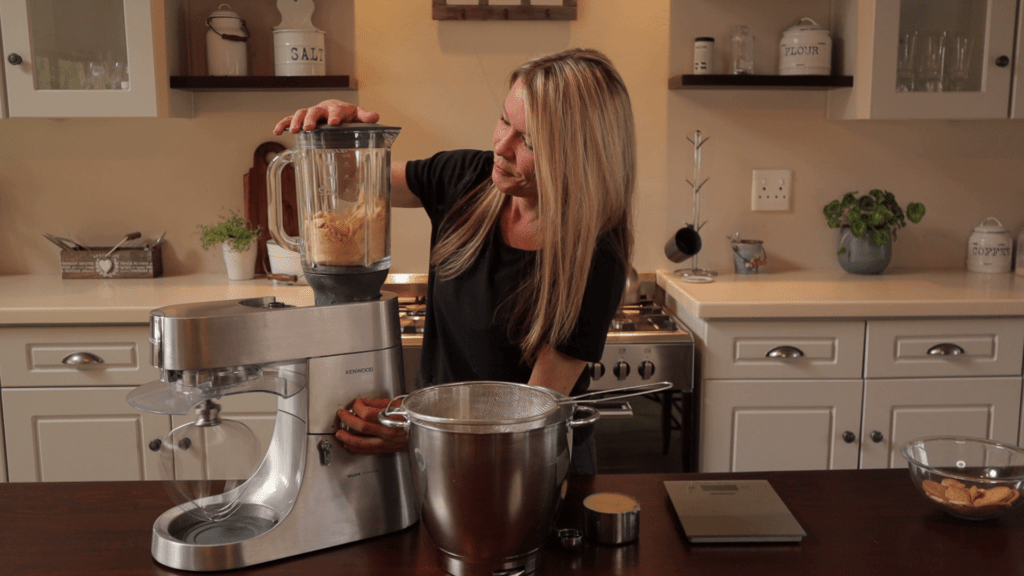
Make a well in the middle of the dry ingredients and add the condensed milk, vanilla essence and melted butter. If you would like to add the liqueur, add it at this stage. Beat with an electric mixer until all the ingredients have combined.

Place the mixture in the fridge for about 30 minutes (until it’s cold).
Once cold, roll it into balls (roughly a Tbsp. for each), and coat with cocoa powder, chocolate vermicelli or crushed nuts.
TIP: If the mixture becomes sticky, pop it into the freezer for a few minutes and it will make it easier to work with. The colder it is, the less sticky it will be.
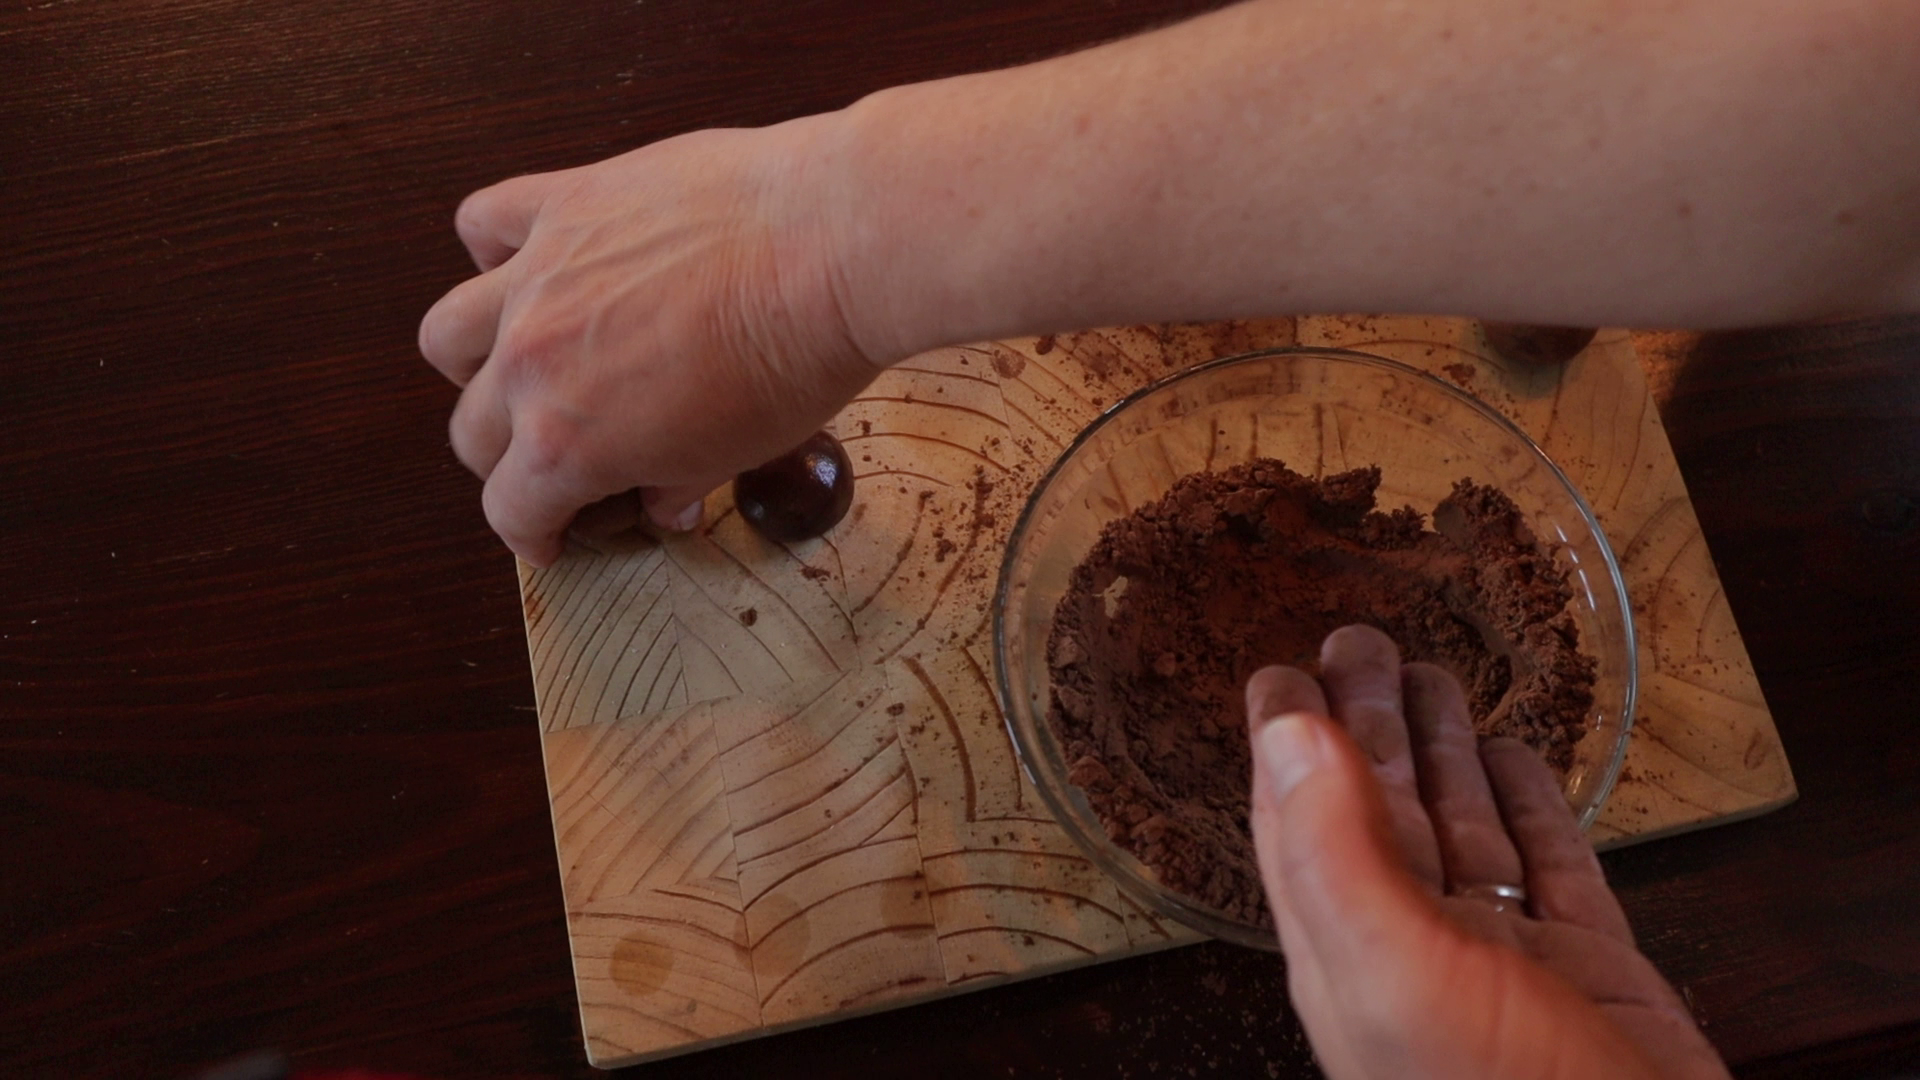
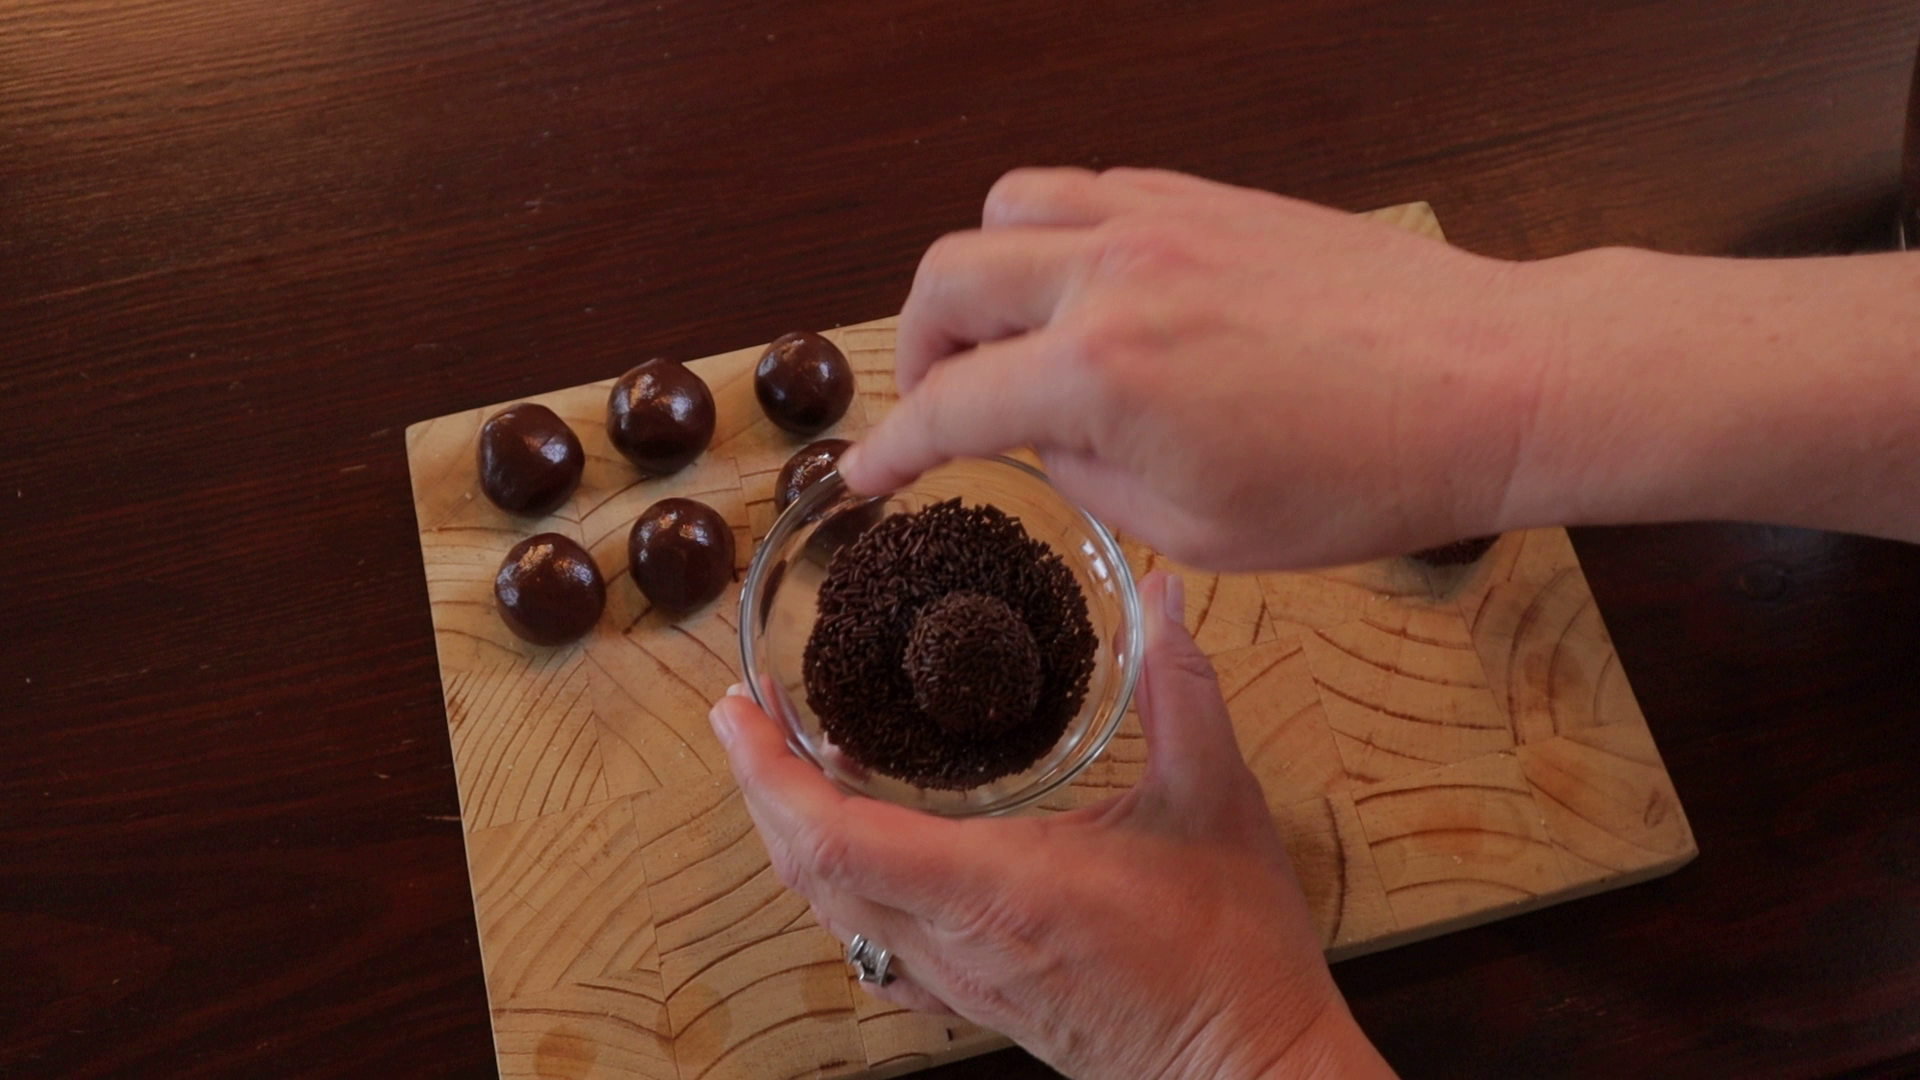
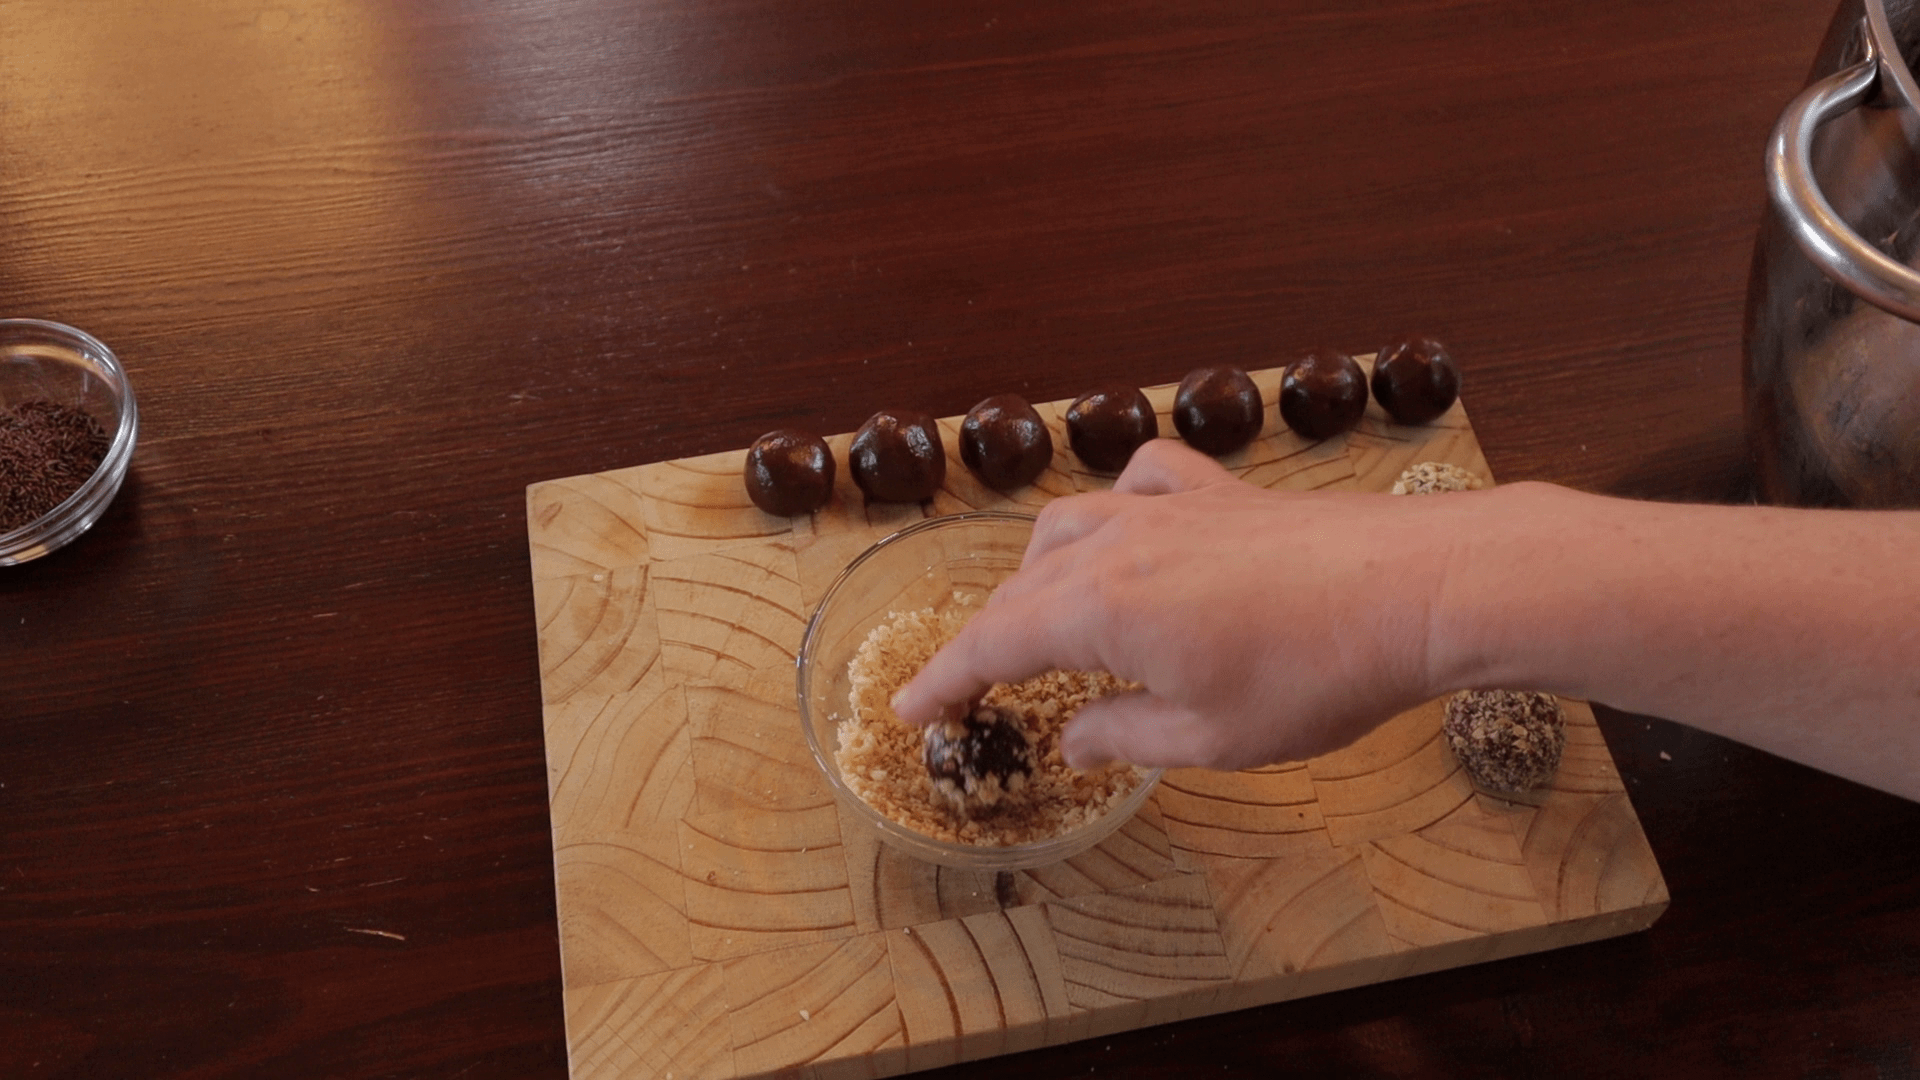
Store the chocolate truffles in the fridge, and enjoy anytime… yummy!
DOWNLOAD THE FREE PRINTABLE TAG
(black & white):

DOWNLOAD THE FREE PRINTABLE TAG
(color)

If you would like to make a special Christmas gift with this chocolate truffles recipe, download The Supermoms Club FREE Christmas Verse Printable Tag (download above) which you can print on green or white cardboard (see headings). Simply cut it out, punch a hole in the top op the Christmas tree and attach it to your jar with some pretty ribbon… voila!
This recipe was first published in 2018, and up-dated with some new photos in 2022.
Melt-In-Your-Mouth Chocolate Truffles Recipe
Equipment
- Blender or Rolling Pin
Ingredients
Ingredients:
- 1⅓ cups Icing Sugar/Confectioners Sugar
- ½ cup Cocoa Powder
- 2 tsp Instant Coffee Granules
- 120 grams Mari Biscuits
- 250 ml's Condensed Milk
- 2 tsp Vanilla Essence
- 100 grams Melted Butter
Optional Variation:
- 2 Tbsp Your Favorite Liqueur
Choice Of Coatings:
- Melted Chocolate
- Chocolate Vermicelli or Sprinkles
- Cocoa Powder
- Chopped Nuts
- Desiccated Coconut
Instructions
To Make The Truffles:
- Sift the icing sugar, cocoa powder and instant coffee powder together in a mixing bowl.
- Crush the Marie biscuits until they are a fine powder. If you don't have a blender, you can place them in a zip-lock bag and crush them using a rolling pin. Add them to the sifted ingredients and stir until nicely combined.
- Make a well in the middle of the dry ingredients and add the condensed milk, vanilla essence and melted butter. If you would like to add the liqueur, add it at this stage. Beat with an electric mixer until combined and thick.
- Place the mixture in the fridge for about 20-30 minutes (until it's cold).
- Once cold, roll it into balls (about a Tbsp for each) and coat with your choice of coating. TIP: If the mixture becomes sticky, pop it into the freezer for a few minutes and it will make it easier to work with. The colder it is, the less sticky it will be.
- Store the Truffles in the fridge or freezer, and enjoy any time!
Video
Back to CHRISTMAS CRAFT AND DIY IDEAS
Back to TRIED AND TESTED RECIPES
Visit My YouTube Baking Vlog Channel


Be the first to comment