
This Chocolate Mousse Cake recipe is insanely good! It isn’t overbearingly sweet, like most chocolate cakes, and you’ll definitely want to go back for seconds, or even thirds! It doesn’t require too much more effort than making a normal chocolate cake, and I’d pick this Chocolate Mousse Cake any day of the week!
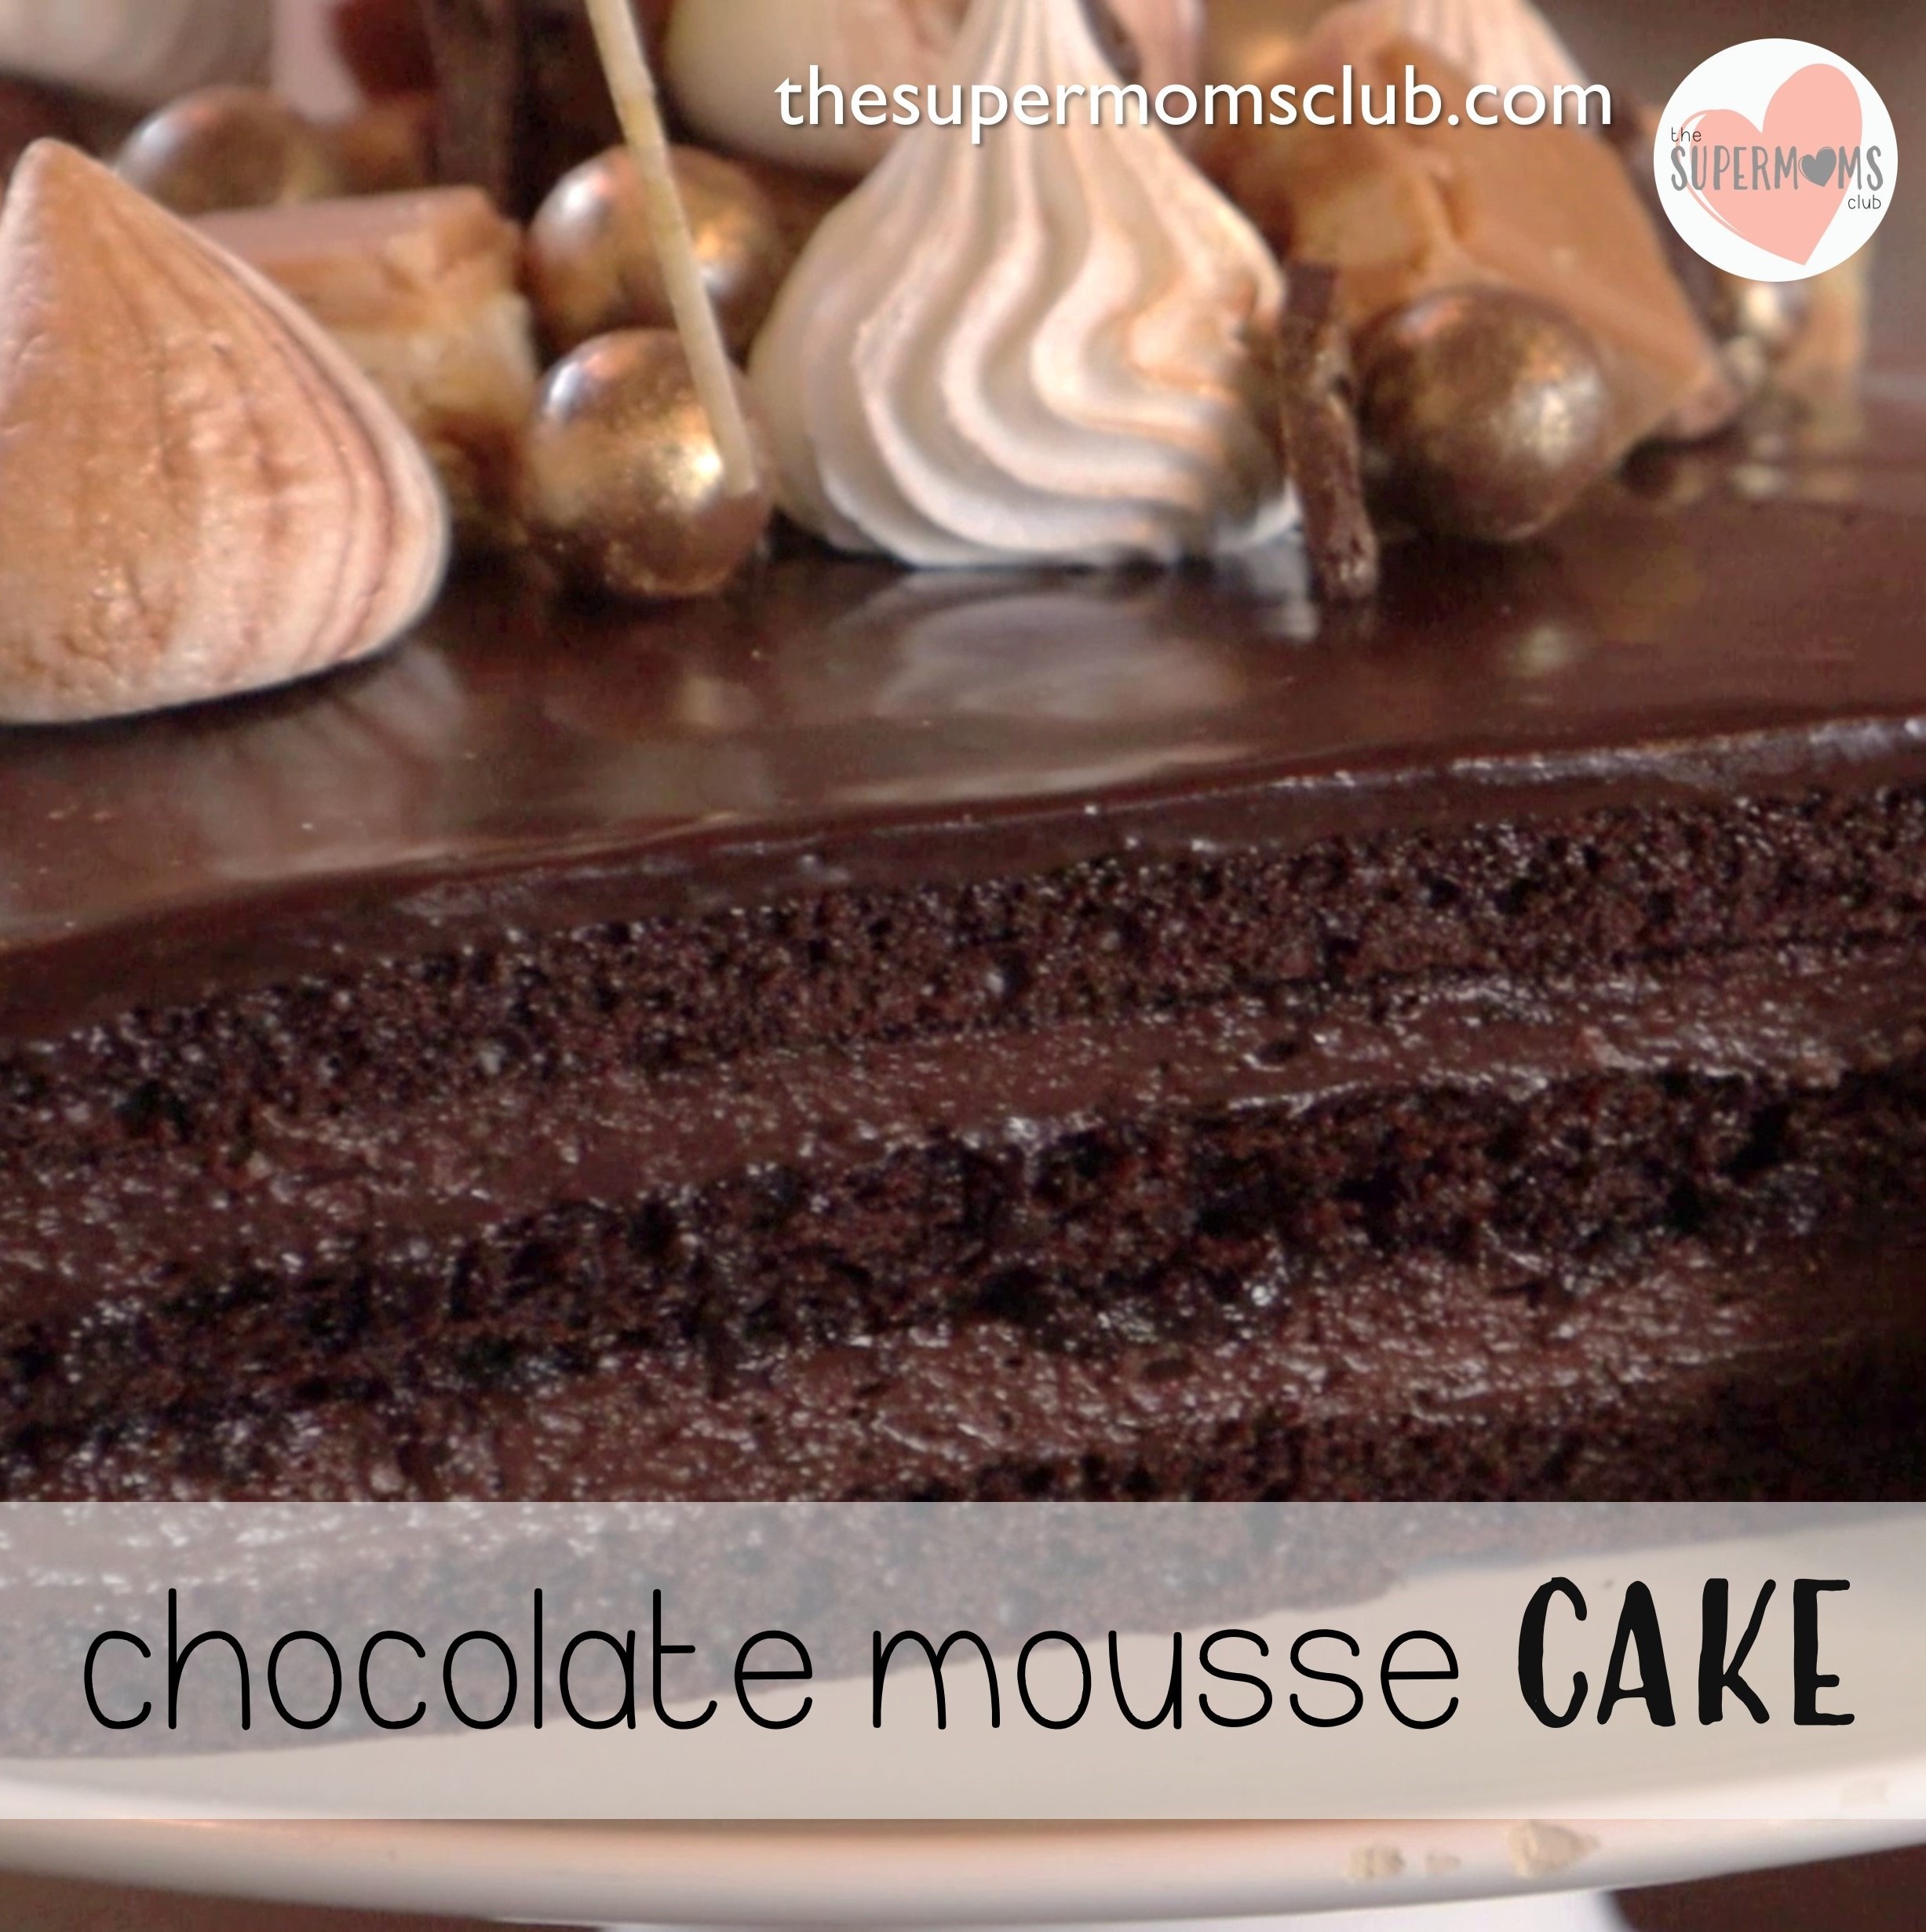
It’s has 3 layers of soft & pillowy chocolate cake, with a creamy chocolate mousse layered in between, and topped with a rich chocolate ganache. The perfect blend of chocolate bliss, all in one mouthful! You can decorate it any way you like, topping with loads of yummy goodies. I hope you love this recipe as much as my family does… enjoy!
Bake Along With Me
Chocolate Mousse Cake Recipe
A quick video with recipe instructions and top tips to help you through!
Chocolate Mousse Cake Recipe
Copyright © 2022 – This original recipe is by Taryn Bloem – thesupermomsclub.com
Prep Time: 30 minutes
Baking Time: 25 minutes
Chill Time: 20 minutes
Oven Temp: 160° C or 320° F
Yield: 1 cake with 3 thin layers + 2 chocolate mousse layers + ganache topping (23cm square cake pan)
Ingredients:
FOR THE CHOCOLATE CAKE:
3 eggs
1 ½ cups sugar
1 tsp vanilla essence
pinch salt
¾ cup sunflower oil
¾ cup milk with ¾ tsp vinegar added to it (once stirred, it will curdle slightly)
1 ½ cups flour
½ cup cocoa
1½ tsp baking powder
½ tsp baking soda (bicarb)
FOR THE CHOCOLATE MOUSSE:
350ml whipping cream
1 Tbsp. sugar
⅓ cup milk
1 Tbsp. gelatin powder
385g tin condensed milk
6 Tbsp. cocoa powder
FOR THE CHOCOLATE GANACHE:
two 80g slabs chocolate (milk & dark)
80ml whipping cream
Method (for the chocolate cake):
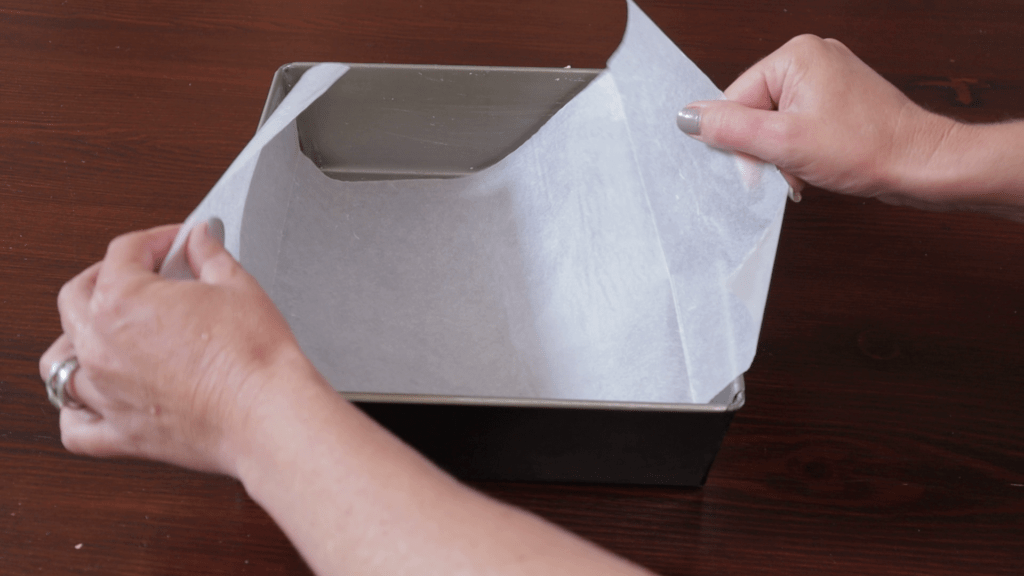
Grease three 23cm x 23cm cake pans with butter, and line them with baking paper. Cut one long piece of baking paper per pan (that extends up two sides of the pan) as this makes getting the cakes out the tins a lot easier once they’re baked. The cakes are quite thin, and can break if not removed correctly. If you’re unsure of how to do this, you can watch the recipe video above.
*Alternatively, you can bake this in one 23cm x 23cm cake tin and slice it into 3 layers if you prefer – refer to notes below!
Preheat your oven to 160° C or 320° F.
In a large mixing bowl, beat the eggs with an electric mixer until they become fluffy (roughly 45 seconds).
Add the sugar and beat until well combined (roughly 45 seconds). The mixture will become slightly paler in color.
Add the vanilla essence, salt, oil and milk & vinegar to the mixture, and beat until combined (about 30 seconds).
Sift in the flour and cocoa, and beat until there aren’t any lumps.

Add the baking powder and baking soda (bicarb) and fold into the batter.
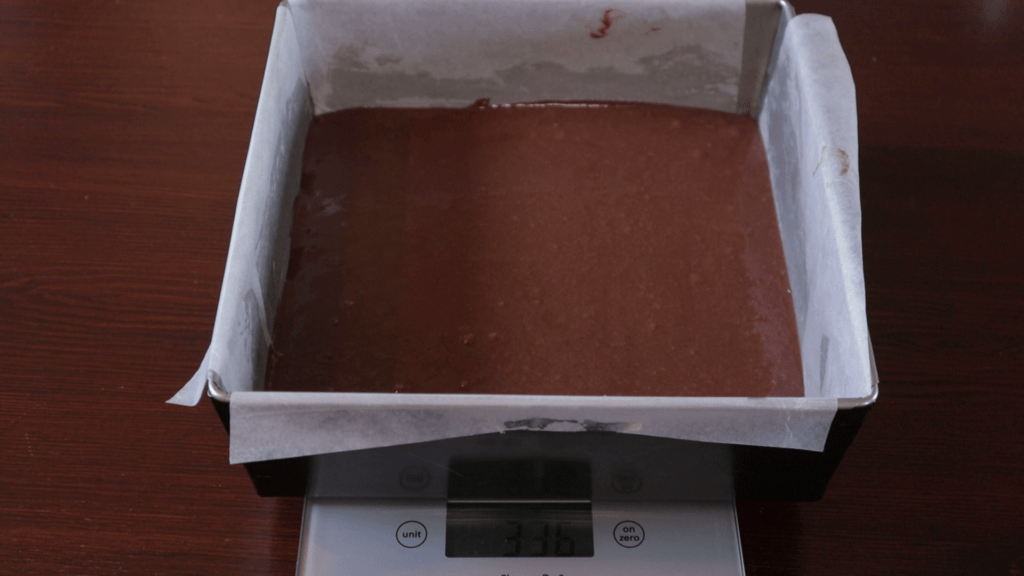
Divide the batter evenly between the three cake tins (roughly 320g in each) and bake on the middle shelf for 25 minutes.
* If you’re baking this in one tin, bake for 35-40 minutes.
Leave the cakes to cool for about 20 to 30 minutes, then remove them from the pans by giving a gentle tug on the baking paper, and slowly lifting it while sliding your hand under it to support the cake.
Method (for the chocolate mousse filling):
While the cakes are cooling, you can make the chocolate mousse.
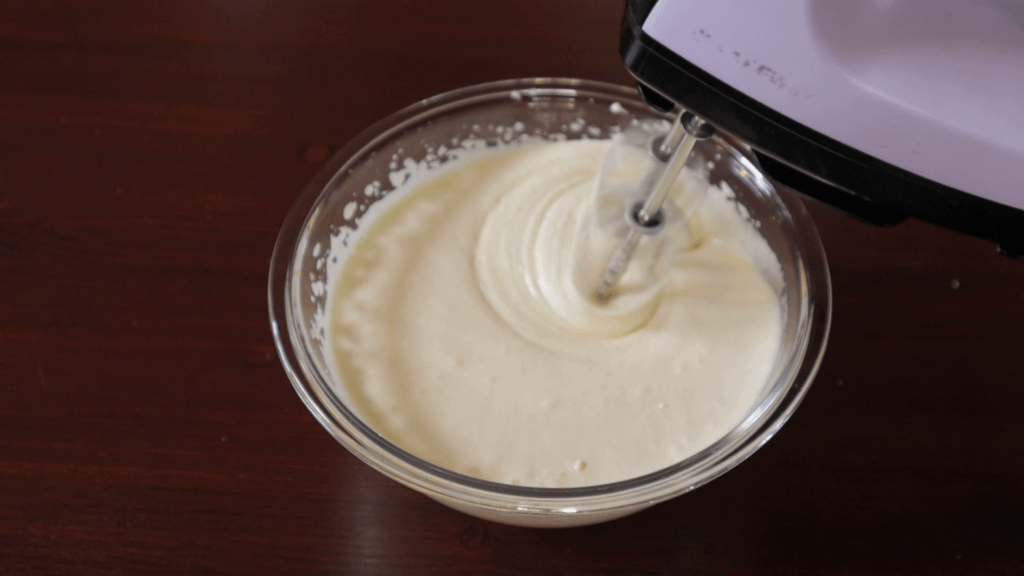
Place the cream and sugar in a mixing bowl and beat until stiff. Then set aside.
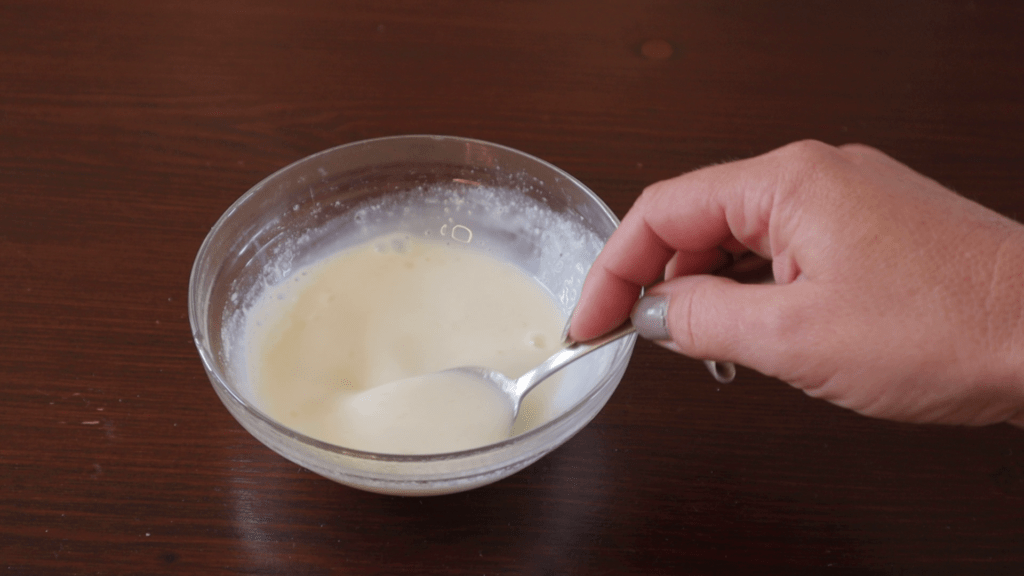
In a separate bowl, heat the milk in the microwave for 45 seconds and then add the gelatin powder to it. Stir it for a minute or two, until all the gelatin has melted and it’s lump free. If there are any lumps, you can heat it for a couple more seconds in the microwave, and continue stirring until it’s smooth.
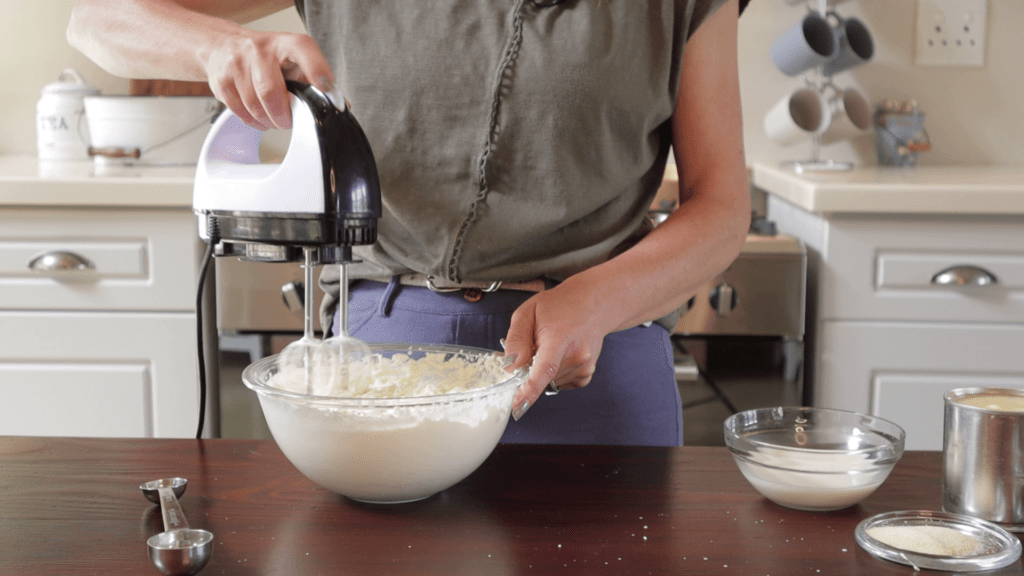
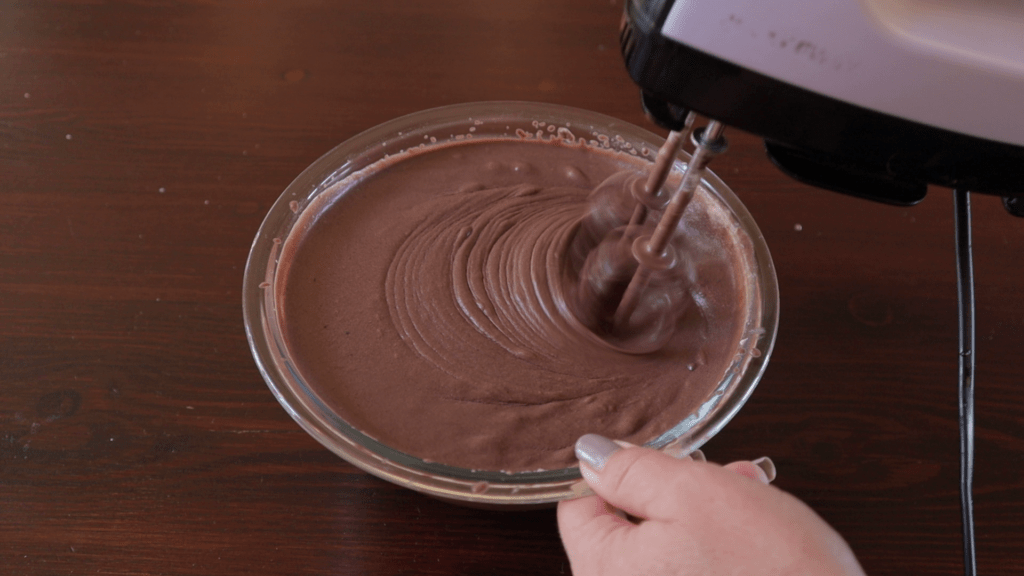
Add the gelatin mixture, condensed milk, and cocoa powder into the whipped cream, and beat it with an electric mixer until it’s and even color. The mixture will become quite runny, but it stiffens up perfectly after chilling!
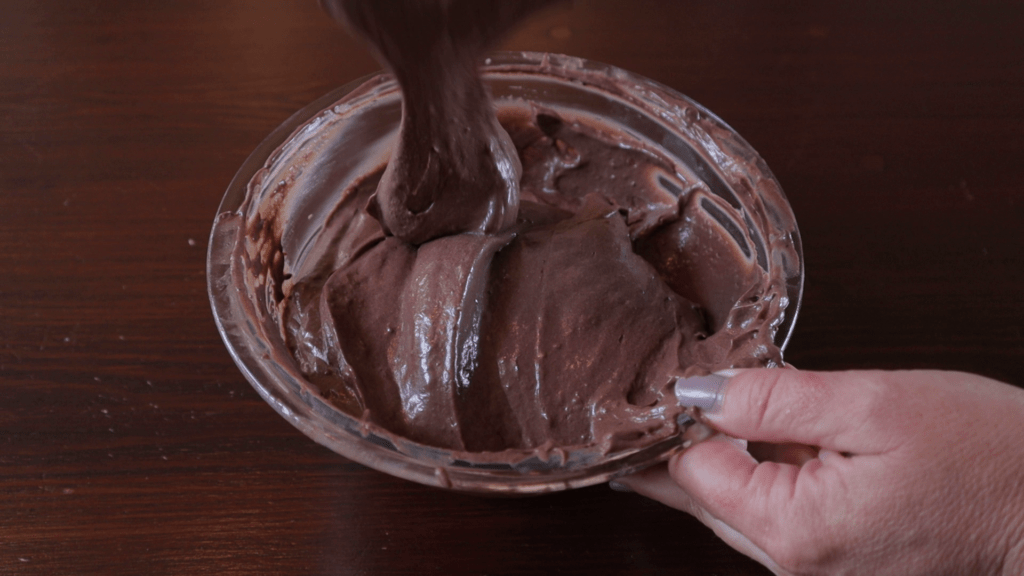
Place the mousse in the freezer for 5-10 minutes to allow it to thicken. When it’s the consistency of icing, it’s ready for filling between the cakes!
Method (for assembly):
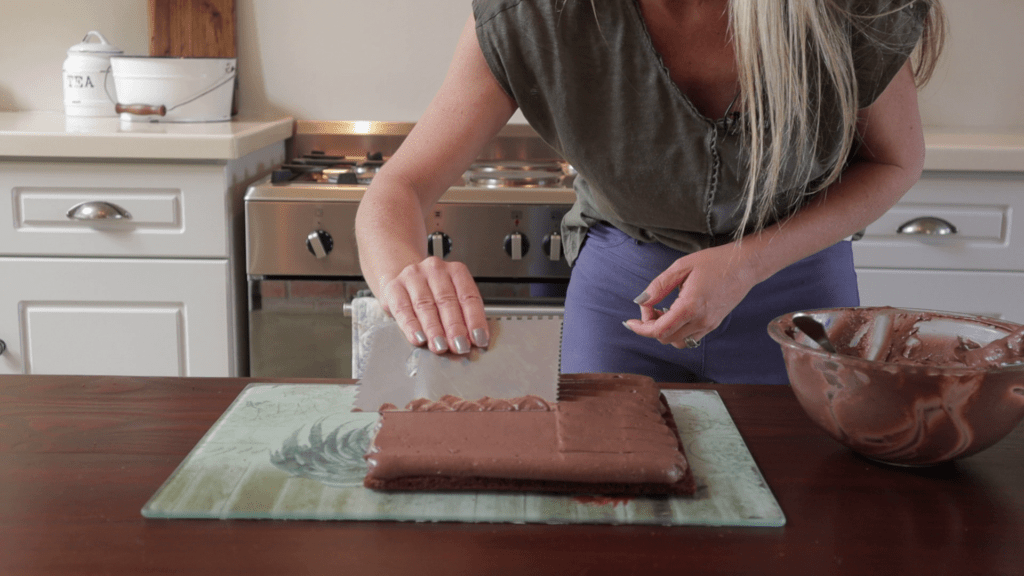
Place the mousse in a piping bag with a big round piping tip (roughly 1cm). Fill the bag with half the mousse, and pipe lines over the top of one of the cake layers. Smooth it off using a scraper, creating a perfectly level layer of mousse.
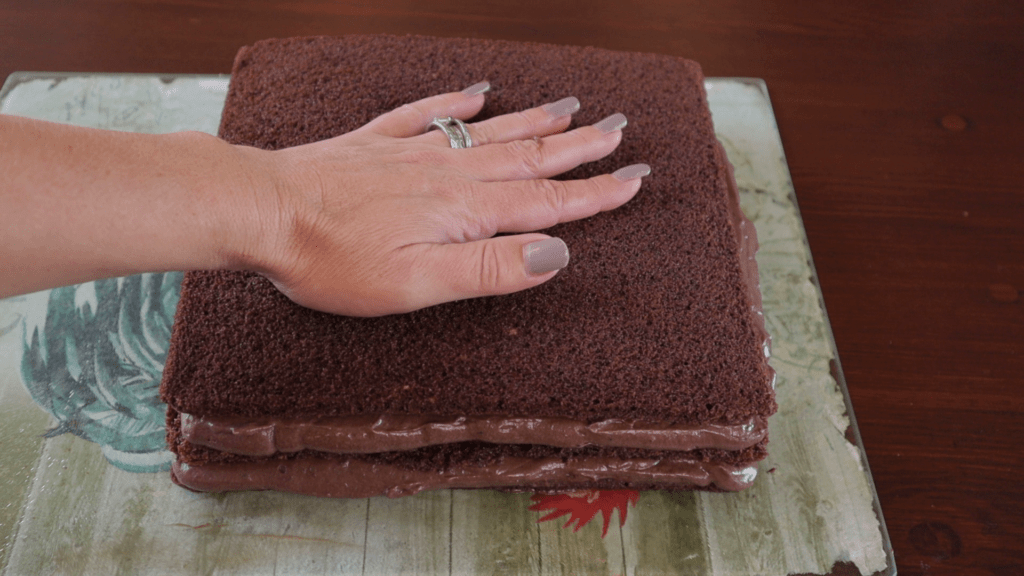
Then place the next cake layer on top, and repeat the mousse layer.
Lastly, add the third layer of cake on top, and place it in the fridge to continue setting for a few minutes.
Method (for the chocolate ganache):
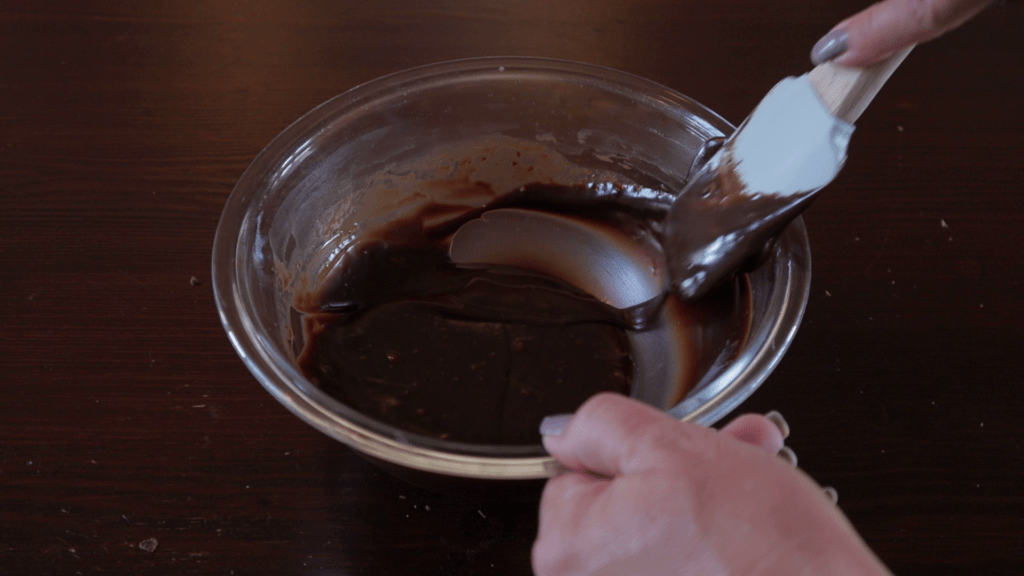
While the cake is setting, you can make the chocolate ganache. Place the cream into a microwave safe dish, and heat for 1 minute.
Break the chocolate slabs into blocks and add them to the heated cream, stirring until they’ve completely melted.
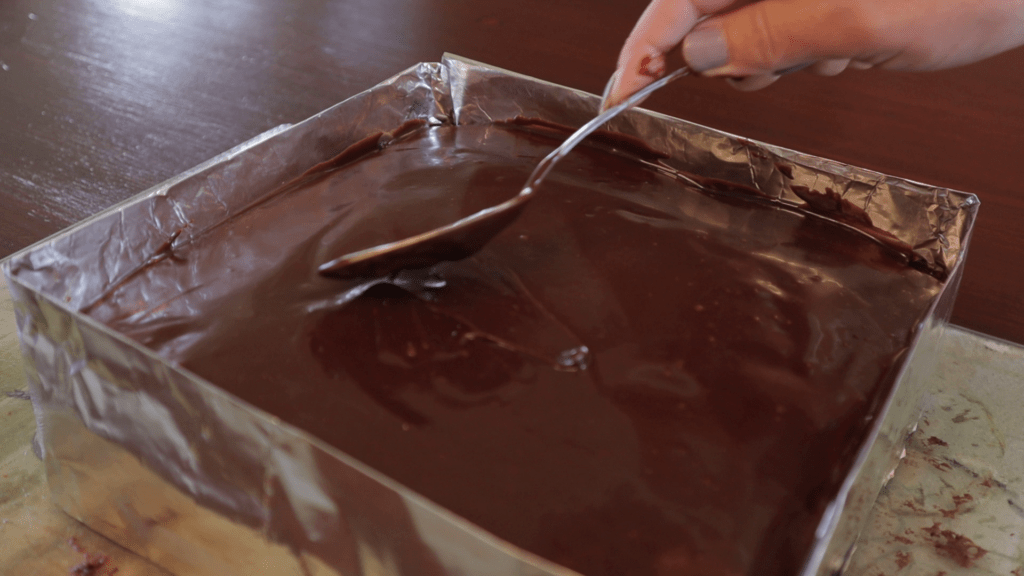
Place the ganache in the fridge for about five minute to cool and slightly thicken, and then pour it over the top of the cake. Watch the recipe video for tips on how to get the perfect ganache topping!
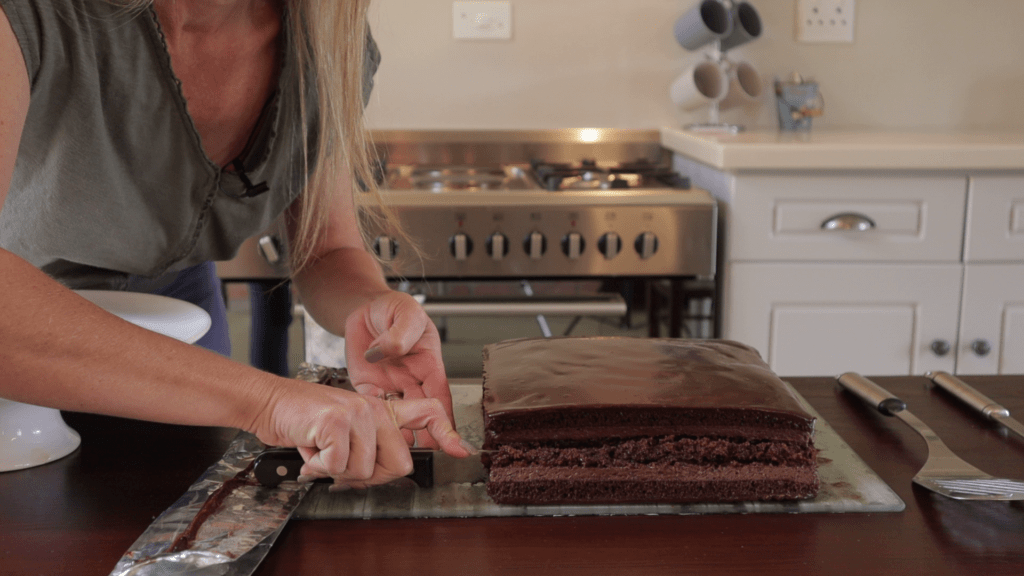
Then slice the ends off the cake, creating perfectly neat sides!
Decorate the cake with anything you like. I’ve used a combination of meringues, fudge, chocolate and Whispers, and rolled them in gold dust to give a beautiful shine. Enjoy!


Perfect Chocolate Mousse Cake recipe
Equipment
- 3 23cm x 23cm square pan
Ingredients
Ingredients (for the cake):
- 3 Eggs
- 1 ½ cups Sugar White
- ¾ cup Milk
- ¾ tsp Spirit Vinegar White
- ¾ cup Oil
- 1 tsp Vanilla Essence
- pinch Salt
- ½ cup Cocoa Powder
- 1 ½ cups Flour
- 1 ½ tsp Baking Powder
- ½ tsp Baking Soda
Ingredients (for the mousse filling):
- 350 ml Whipping Cream
- 1 Tbsp. Sugar White
- ⅓ cup Milk
- 1 Tbsp. Gelatin Powder
- 385 gram Tin Condensed Milk
- 6 Tbsp. Cocoa Powder
Ingredients (for the ganache topping):
- 2 slabs Chocolate (80g each – milk & dark)
- 80 ml Whipping Cream
Instructions
Method (for the cake):
- Grease three 23cm x 23cm cake pans with butter, and line them with baking paper. Cut one long piece of baking paper per pan (that extends up two sides of the pan) as this makes getting the cakes out the tins a lot easier once they're baked. The cakes are quite thin, and can break if not removed correctly. If you're unsure of how to do this, you can watch the recipe video above. *Alternatively, you can bake this in one 23cm x 23cm cake tin and slice it into 3 layers if you prefer – refer to notes below!
- Preheat your oven to 160° C or 320° F.
- In a large mixing bowl, beat the eggs with an electric mixer until they become fluffy (roughly 45 seconds).
- Add the sugar and beat until well combined (roughly 45 seconds). The mixture will become slightly paler in color.
- Add the vanilla essence, salt, oil and milk & vinegar to the mixture, and beat until combined (about 30 seconds).
- Sift in the flour and cocoa, and beat until there aren't any lumps.
- Add the baking powder and baking soda (bicarb) and fold into the batter.
- Divide the batter evenly between the three cake tins (roughly 320g in each) and bake on the middle shelf for 25 minutes. * If you're baking this in one tin, bake for 35-40 minutes.
- Leave the cakes to cool for about 20 to 30 minutes, then remove them from the pans by giving a gentle tug on the baking paper, and slowly lifting it while sliding your hand under it to support the cake.
Method (for the mousse):
- While the cakes are cooling, you can make the chocolate mousse. Place the cream and sugar in a mixing bowl and beat until stiff. Then set aside.
- In a separate bowl, heat the milk in the microwave for 45 seconds and then add the gelatin powder to it. Stir it for a minute or two, until all the gelatin has melted and it's lump free. If there are any lumps, you can heat it for a couple more seconds in the microwave, and continue stirring until it's smooth.
- Add the gelatin mixture, condensed milk, and cocoa powder into the whipped cream, and beat it with an electric mixer until it's and even color. The mixture will become quite runny, but it stiffens up perfectly after chilling!
- Place the mousse in the freezer for 5-10 minutes to allow it to thicken. When it's the consistency of icing, it's ready for filling between the cakes!
Method (for assembly):
- Place the mousse in a piping bag with a big round piping tip (roughly 1cm). Fill the bag with half the mousse, and pipe lines over the top of one of the cake layers. Smooth it off using a scraper, creating a perfectly level layer of mousse.
- Then place the next cake layer on top, and repeat the mousse layer.
- Lastly, add the third layer of cake on top, and place it in the fridge to continue setting for a few minutes.
Method (for the ganache):
- While the cake is setting, you can make the chocolate ganache. Place the cream into a microwave safe dish, and heat for 1 minute.
- Break the chocolate slabs into blocks and add them to the heated cream, stirring until they've completely melted.
- Place the ganache in the fridge for about five minute to cool and slightly thicken, and then pour it over the top of the cake. Watch the recipe video for tips on how to get the perfect ganache topping!
- Then slice the ends off the cake, creating a perfectly neat sides!
- Decorate the cake with anything you like. I've used a combination of meringues, fudge, chocolate and Whispers, and rolled them in gold dust to give a beautiful shine. Enjoy!
Video
Back to TRIED AND TESTED RECIPES
Visit My YouTube Baking Vlog Channel


Be the first to comment