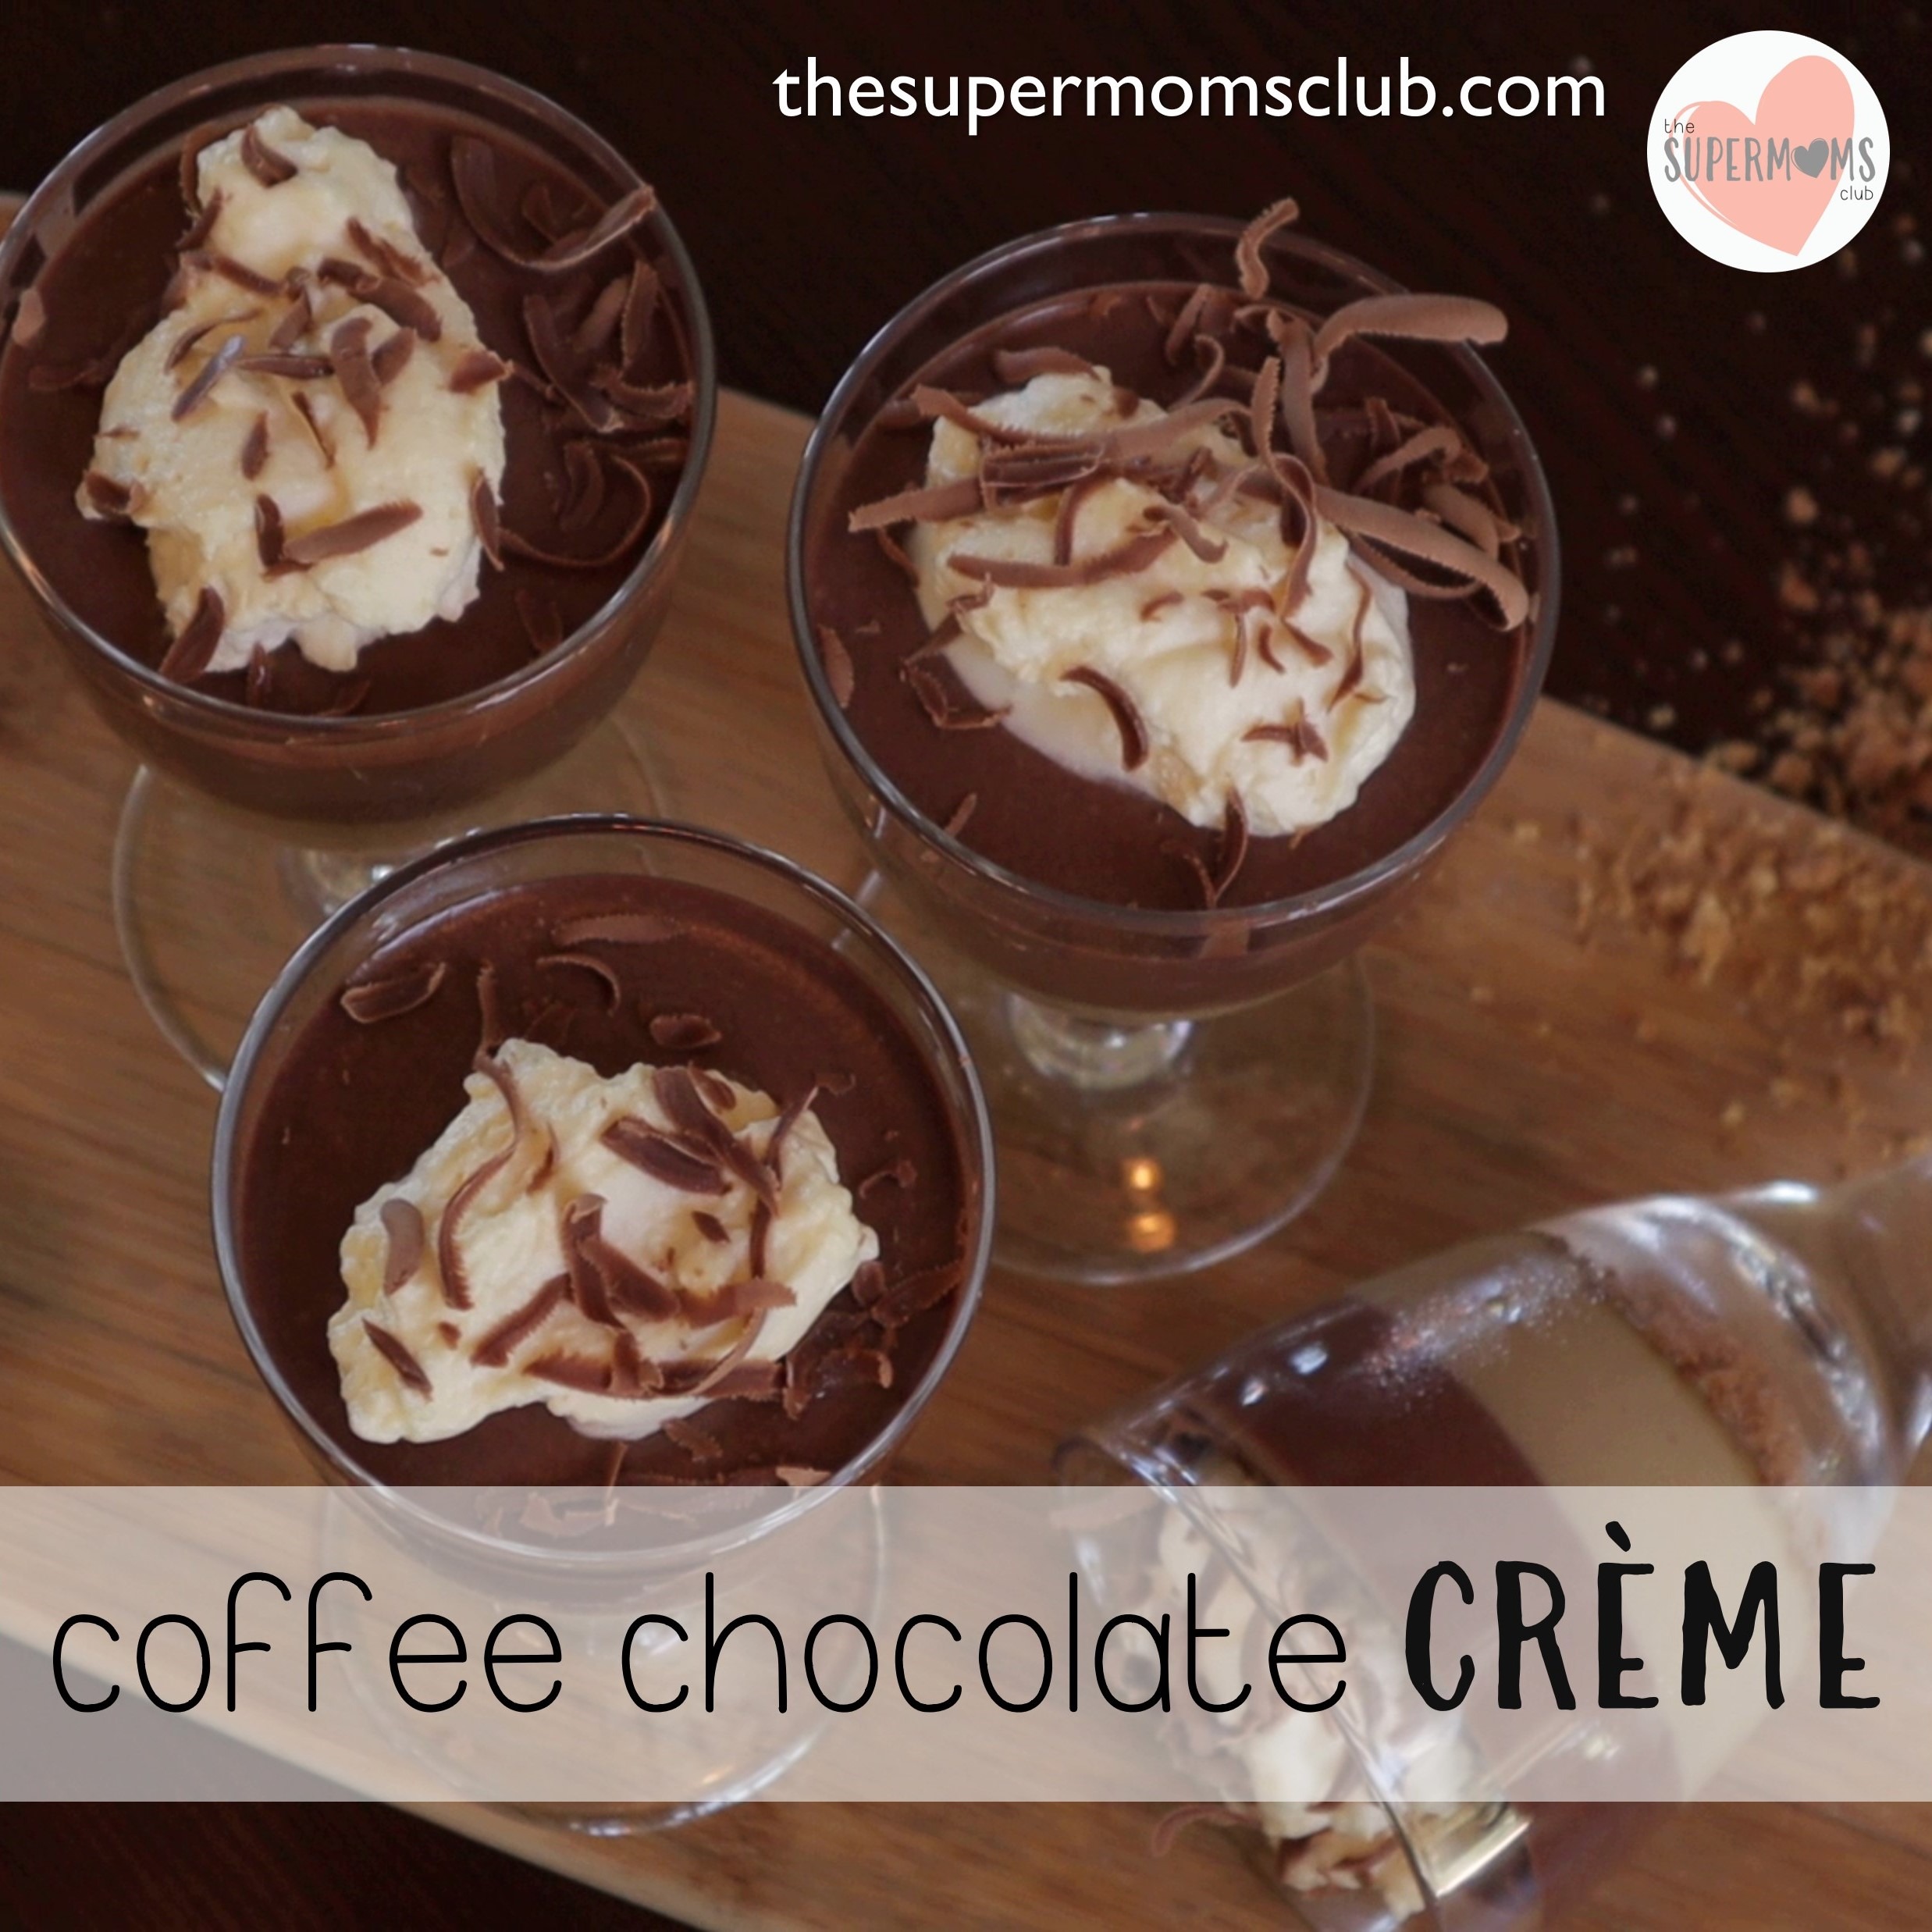
This quick and easy Coffee Chocolate Crème Dessert is sooooo yummy! It takes around 15 minutes to make, it’s no bake, and each layer offers your taste buds something completely different. Yum, yum, yum, this is such a great recipe for a easy fancy dessert, any time of the year!
Watch On YouTube
Coffee Chocolate Crème Dessert Recipe
A quick video with recipe instructions and top tips to help you through!
Coffee Chocolate Crème Dessert Recipe
Copyright © 2022 – This original recipe is by Taryn Bloem – thesupermomsclub.com
Prep Time: 15 minutes
Yield: 4 X 250ml wine glasses
Ingredients:
80g caramel flavored biscuits (Bakers Nuttikrust)
400ml whipping cream
385g tin condensed milk
1 egg + 1 egg yolk
1 ½ tsp coffee granules
3 Tbsp. cocoa powder
3 Tbsp. milk
1 ½ tsp gelatine powder
Method:
Place the biscuits into a zip lock bag, and finely crush them using a rolling pin.
Divide the crushed biscuits equally between the 4 wine glasses (20g in each), and set aside.
To make the coffee custard, place the egg + egg yolk, 150ml’s of the condensed milk (reserving the rest), 200ml’s of the whipping cream (reserving the rest), and the coffee granules (sifted) into a heavy bottomed saucepan, and beat it thoroughly using an electric mixer for a minute to combine.
Place the saucepan on a medium heat, on a stovetop, and stir continuously until it begins to boil and thicken. This take a couple of minutes, but just keep stirring, otherwise your cream will burn and it wont taste nice!
Once thickened, remove from the heat and give it a beat again with an electric mixer for a minute or so to aid in cooling the mixture down.
Spoon the mixture equally between the 4 wine glasses, on top of the crushed biscuits, and place in the freezer for 5 minutes to cool and set.
While the coffee custard is setting, make the chocolate crème. Place the remaining 200ml’s of cream into a mixing bowl (you can add a Tbsp. sugar if you wish), and beat until stiff peaks form.
Dispense 4 heaped Tbsp. of the whipped cream into a separate dish, and set it aside in the fridge. This will be used to top the dessert at the end.
Heat the milk in the microwave for 30 seconds, add the gelatine to it, and stir until completely smooth. There should be NO lumps at all. If it is lumpy, place it into the microwave again for 10 – 15 seconds, and stir until it completely mixed!
Add the gelatine mixture, remaining condensed milk and cocoa powder (sifted) into the whipped cream, and beat until evenly mixed. The mixture will be quite runny, but it will set perfectly once chilled!
Pour it equally into the 4 wine glasses, on top of the coffee custard, and place back into the freezer for 5 minutes to set.
Once set, top with the remaining whipped cream. To jazz it up, grate some chocolate over the top.
Enjoy!

Coffee Chocolate Crème Dessert
Ingredients
Ingredients:
- 80 grams Caramel Flavored Biscuits (Bakers Nuttikrust)
- 400 ml's Whipping Cream
- 385 gram Tin Of Condensed Milk
- 1 Egg
- 1 Egg Yolk
- 1 ½ tsp Coffee Granules
- 3 Tbsp. Cocoa Powder
- 3 Tbsp. Milk
- 1 ½ tsp Gelatine Powder
Instructions
Method (base):
- Place the biscuits into a zip lock bag, and finely crush them using a rolling pin.
- Divide the crushed biscuits equally between the 4 wine glasses (20g in each), and set aside.
Method (coffee custard):
- To make the coffee custard, place the egg + egg yolk, 150ml’s of the condensed milk (reserving the rest), 200ml’s of the whipping cream (reserving the rest), and the coffee granules (sifted) into a heavy bottomed saucepan, and beat it thoroughly using an electric mixer for a minute to combine.
- Place the saucepan on a medium heat, on a stovetop, and stir continuously until it begins to boil and thicken. This take a couple of minutes, but just keep stirring, otherwise your cream will burn and it wont taste nice!
- Once thickened, remove from the heat and give it a beat again with an electric mixer for a minute or so to aid in cooling the mixture down.
- Spoon the mixture equally between the 4 wine glasses, on top of the crushed biscuits, and place in the freezer for 5 minutes to cool and set.
Method (chocolate crème):
- While the coffee custard is setting, make the chocolate crème. Place the remaining 200ml’s of cream into a mixing bowl (you can add a Tbsp. sugar if you wish), and beat until stiff peaks form.
- Dispense 4 heaped Tbsp. of the whipped cream into a separate dish, and set it aside in the fridge. This will be used to top the dessert at the end.
- Heat the milk in the microwave for 30 seconds, add the gelatine to it, and stir until completely smooth. There should be NO lumps at all. If it is lumpy, place it into the microwave again for 10 – 15 seconds, and stir until it completely mixed!
- Add the gelatine mixture, remaining condensed milk and cocoa powder (sifted) into the whipped cream, and beat until evenly mixed. The mixture will be quite runny, but it will set perfectly once chilled!
- Pour it equally into the 4 wine glasses, on top of the coffee custard, and place back into the freezer for 5 minutes to set.
Method (topping):
- Once set, top with the remaining whipped cream. To jazz it up, grate some chocolate over the top. Enjoy!
Video
Back to TRIED AND TESTED RECIPES
Visit My YouTube Baking Vlog Channel


Be the first to comment